Challenges
Challenge 1
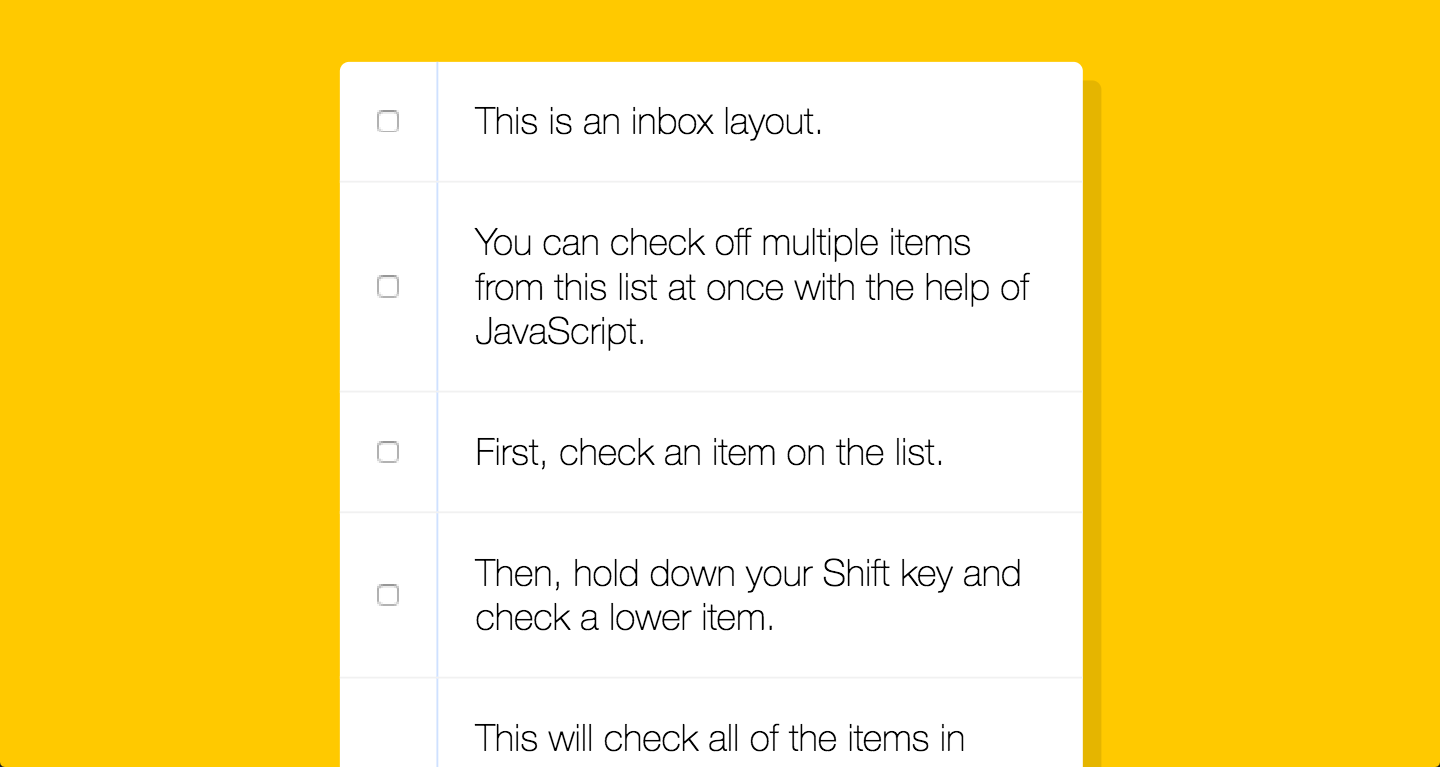
In this challenge, I used JS code to change a checklist so that when you check a box,hold down the shift key, and check another box further down, all of the checks between those two boxes are checked off as well.
Check it out here — Challenge 1
Challenge 2
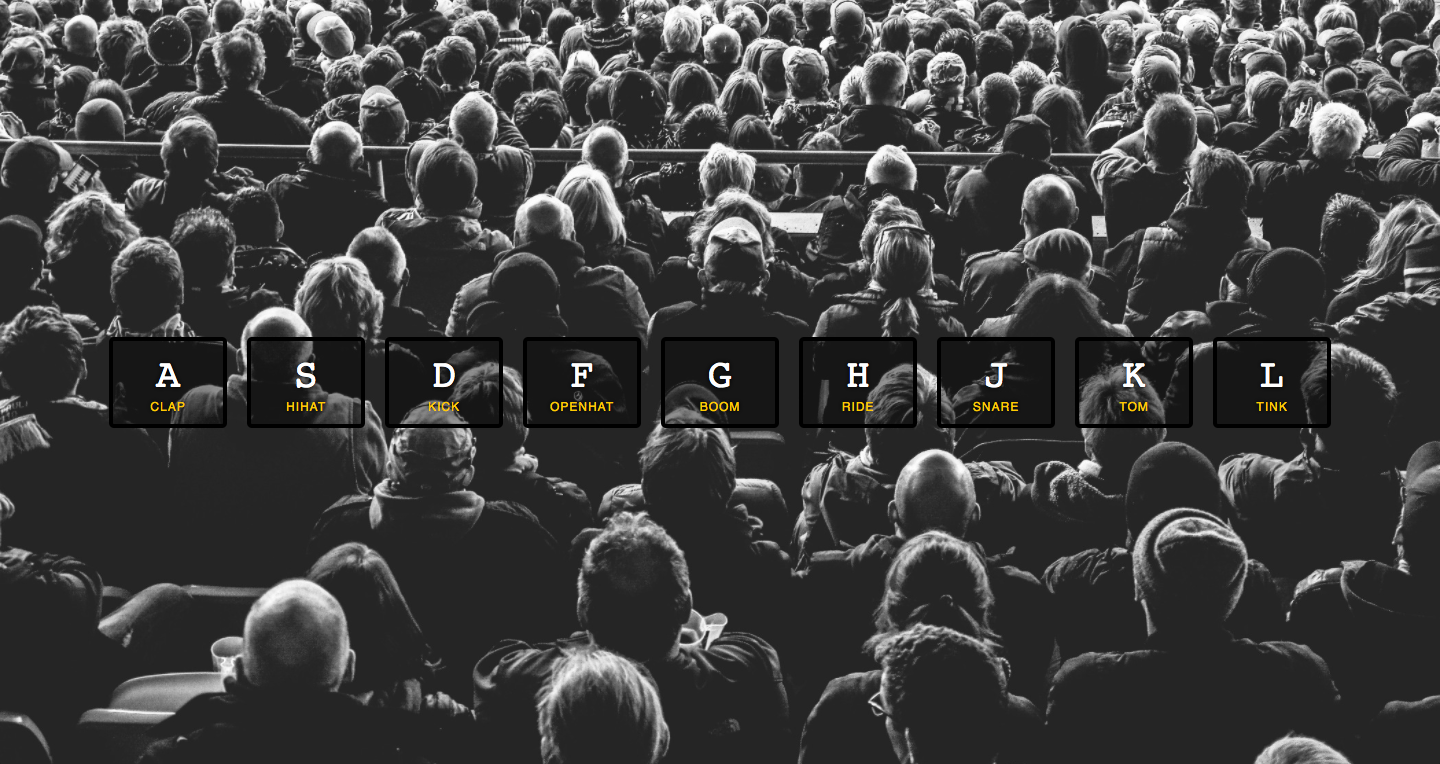
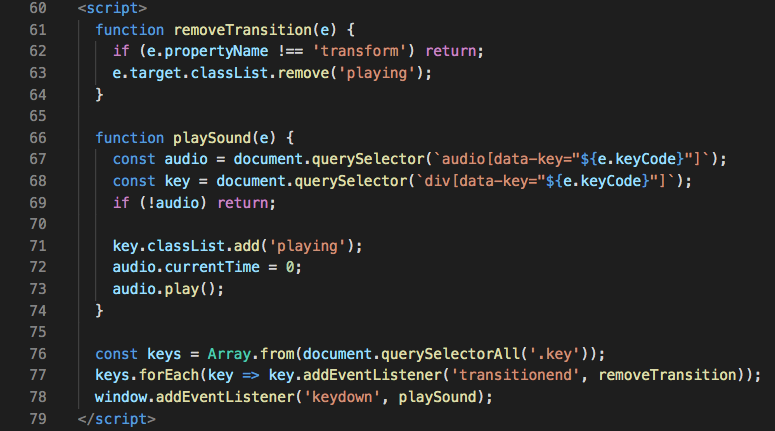
In this challenge, I used JS code to build a keyboard drum kit that plays the sound that corresponds to each key and also does a short animation effect for the key on the screen when you hit that same key on your own compter's keyboard.
Check it out here — Challenge 2
Challenge 3
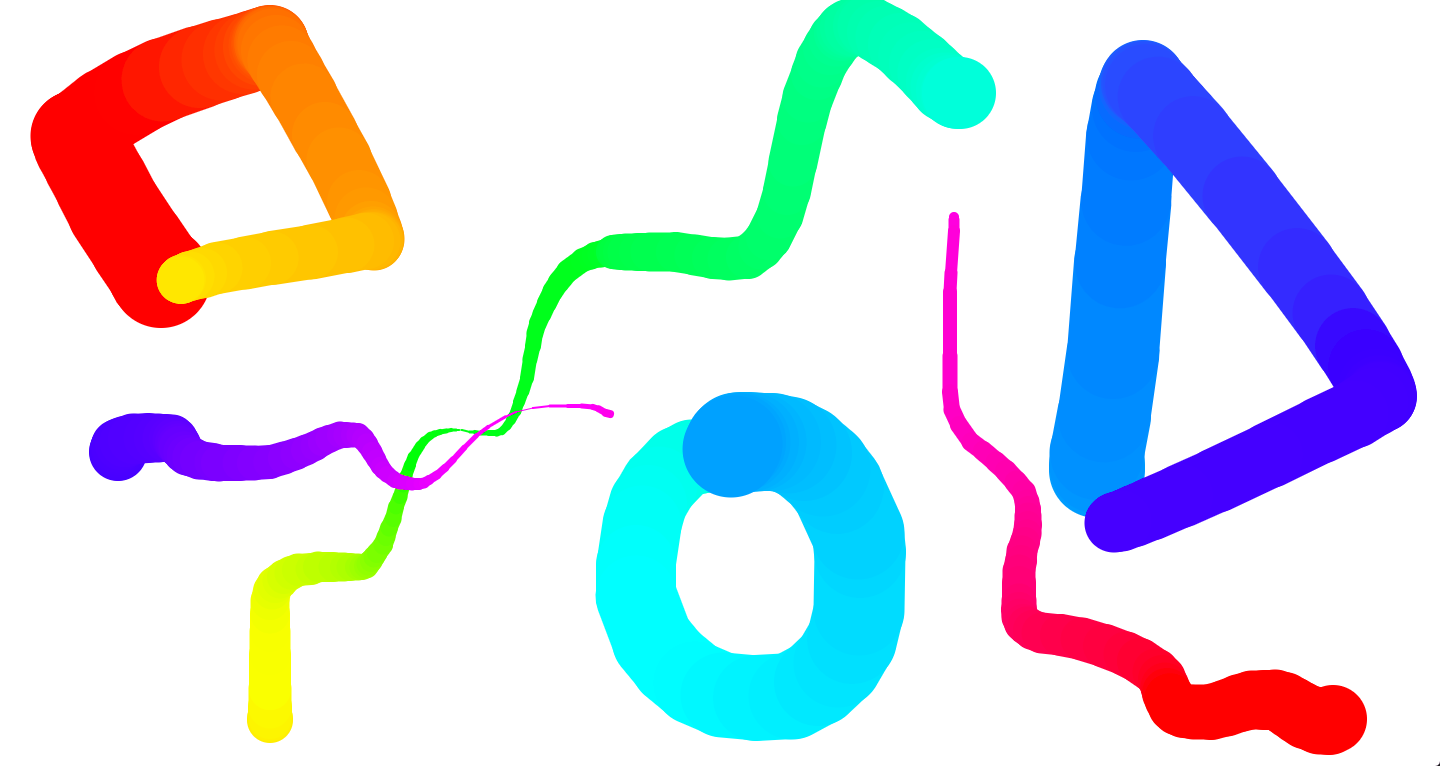
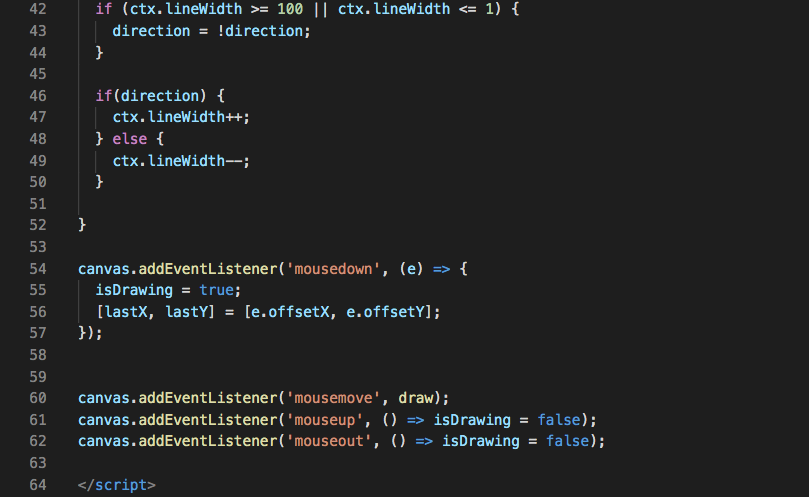
In this challenge, I used JS code to create a canvas that paints a line on the screen wherever you click and drag your mouse. The line also changes size and color the longer you draw with it.
Check it out here — Challenge 3
Challenge 4
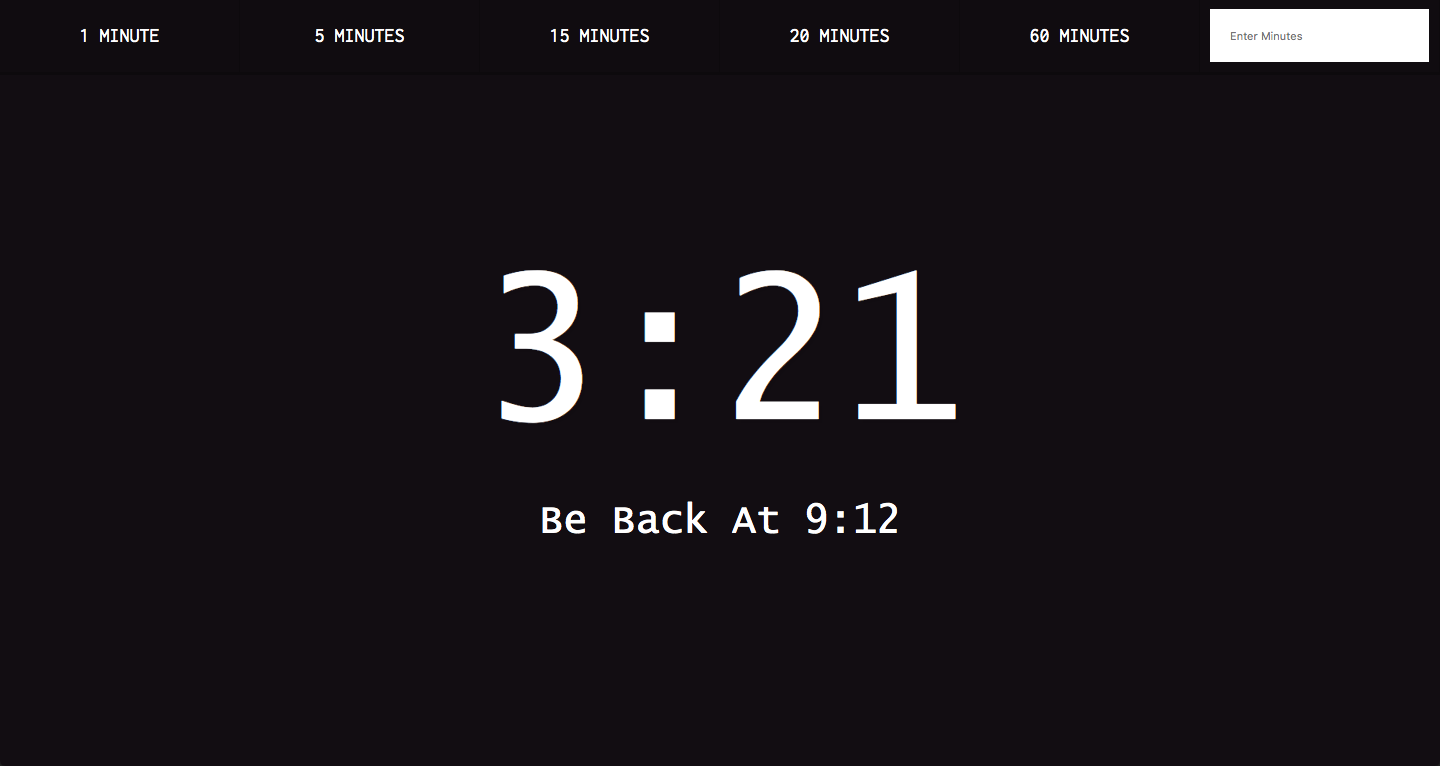
In this challenge, I used JS code to create a timer that counts down how many minutes and seconds are left from whatever time you choose to start from.
Check it out here — Challenge 4
Challenge 5
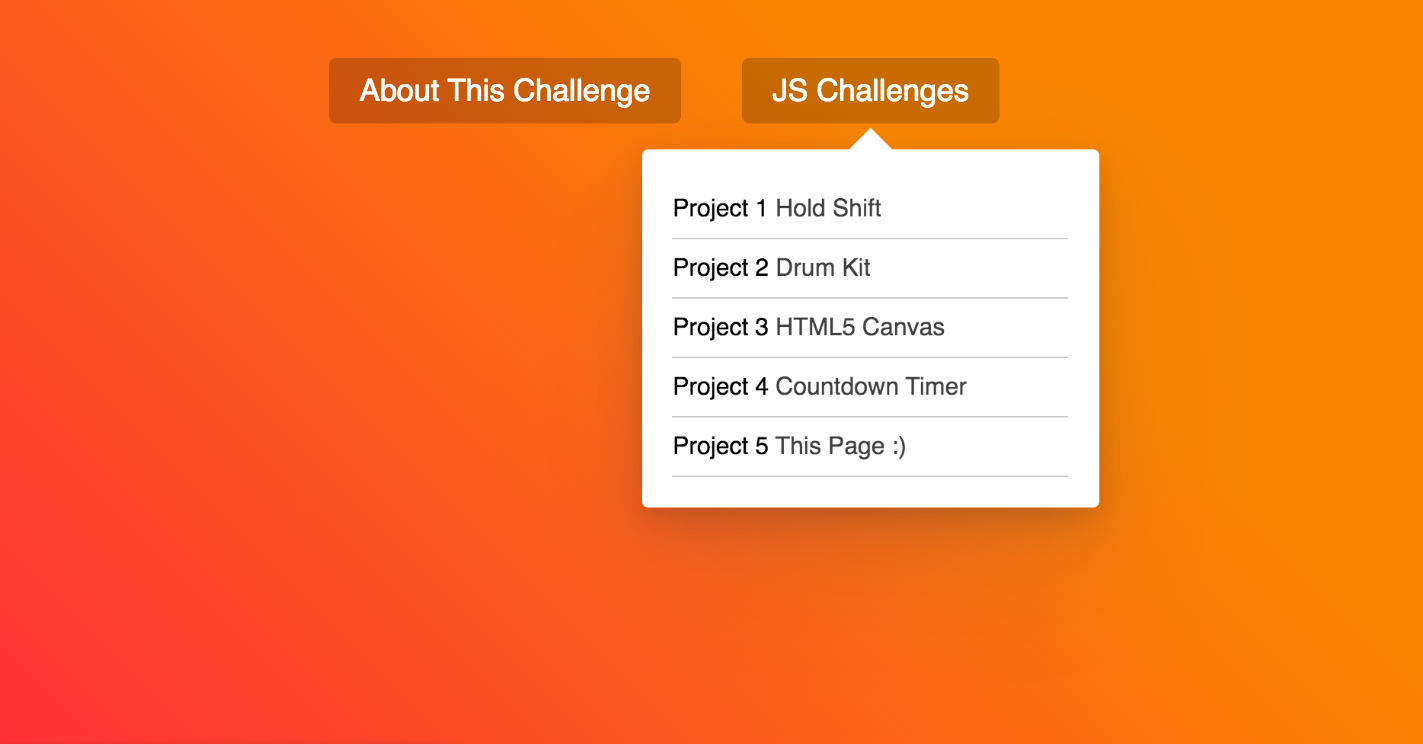
In this challenge, I used JS code to create a dropdown that fluidly transforms its size, shape, and position on the page when you move your cursor from one header to another.
Check it out here — Challenge 5
Explanations

The first part of my code selects every checkbox in the list to see when they have been checked (line 102). The code loops over every checkbox until it comes to one that has been checked; the code listens for a click (line 129), and when it finds one it runs a function called "handleCheck" (line 106-127).
The first check is put into a variable which allows the code to know where the last checked box was before the second check (line 104), so that when the second box is checked while shift is being held, it will know what the last one before it was (a.k.a. the starting point of the list).
Next, the function "handleCheck" checks for two things: the first is that is checks if the shift key is being pushed down and the second is that the box is being checked, not unchecked (line 110). If both of those are true, the the code loops through every checkbox to look for the first one that was checked. If the box is before the first one checked, the it is considered not between the two manually checked boxes (line 109).
Once the first checked box is found (line 115), the following boxes will be considered true for the "inBetween" variable and will be checked by the code (line 116-124). Line 116 is set up as equal to its opposite instead of as equal to true so that it also works bottom to top. When the code comes to the second manually checked box, it stops running because the "inBetween" variable is now false because it is the last checked box (line 126).
Above the script tag for this code there is a div with a class of "keys", where there are divs inside that correspond to each key (using the corresponding key code number) from A-L on your keyboard. Then, individual audio files are linked to each key below that.
In the script tag, my code listens for a key to be pressed down (line 78). When a key is pressed down, the code runs a function called "playSound" (line 66-74). The function listens to see if there is an audio element linked to the key that was pressed (line 67). This is done using a data attribute selector for "${e.keyCode}" since each key was given an attribute of its own key code number.
If there is an audio element linked to the key (line 69), the function stops running and then plays the audio element associated with the key (line 72-73). Line 72 rewinds the audio so that when you press the key multiple times it does not take a full 2-3 seconds for the audio to complete in order to play the audio again.
The animation that appears on the screen when a key is pressed comes from the style.css page linked the the file. Similarly to the audio for each key, the function listens to see if there is a div element linked to the key that was pressed (line 68). The data attribute selector is used in the same way.
If there is a div element linked to the key (line 69), the function stops running and then adds the class "playing" to that div element (line 71). The "playing" class scales the size of the div up, adds a border color, and changes the box shadow color.
The animation is then removed by adding an event listener to each key and running a function called "removeTransition" (line 76-77). This function then removes the "playing" class from any element where the property equals transform and skips over any elements where the property does not equal transform (line 61-64).
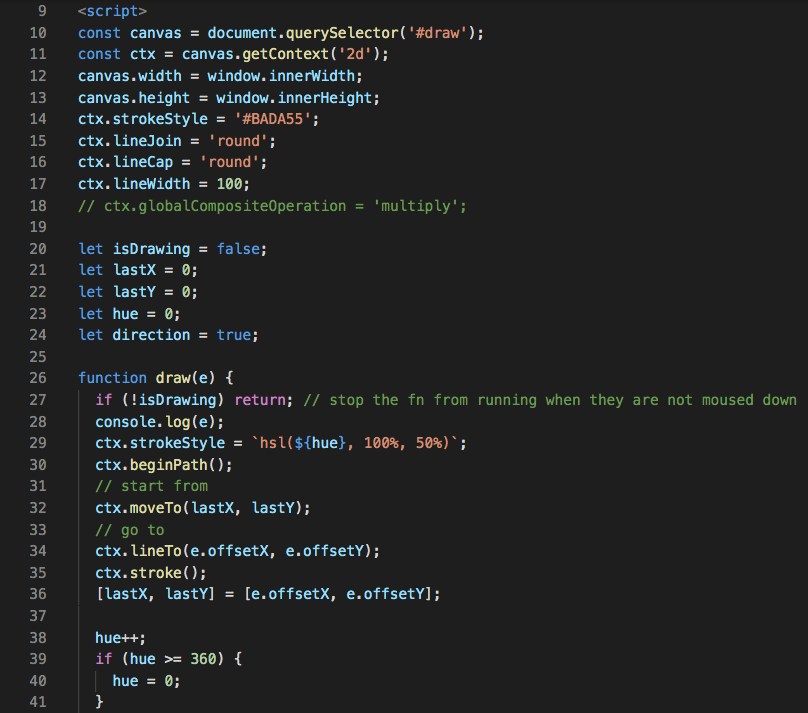
For this challenge, I first had to define the canvas the function would draw on (line 10). Within that I had to grab the context (line 11) because that is actually what the function draws on, not the canvas. Then, I had to adjust the canvas size to fit the window of the page (line 12-13).
Next, I defined the way the function would paint on the screen. "strokeStyle" defines the color of the line (line 14), "lineJoin" and "lineCap" define the shape of it (line 15-16) and "lineWidth" defines the size of it (line 17).
Then, I had to make a few variables to set up the default of the element (line 20-24). The variable "isDrawing" is set to false so that unless the function is triggered to change it to true (in this case, when the mouse is pressed down and dragged) moving the mouse along the screen does not draw on it. "lastX" and "lastY" establish the origin of each line being drawn by the function.
My code listens for the mouse to move along the canvas (line 60), and when it does it triggers the function "draw" (line 26-52). The code then listens to see if the mouse is down (line 54); and if it is, then it changes the variable "isDrawing" to true (line 55). The code also listens to see if the mouse is up or out, and when those are true the code changes the variable "isDrawing" to false (line 61-62).
The function first determines if the variable "isDrawing" is true or not from the event listeners. If the variable is false, the function stops running (line 27). If it is true, the function then defines the start of the path and the end of the path (line 30-36; line 56).
The initial color of the line is defined using hsl (line 29), and the hue then incrimentally changes and loops as the draw function continues (line 38-41). The initial line width is set to 0 (line 23-24), and the width then incrimentally changes and loops in the same way the hue does (line 42-50).
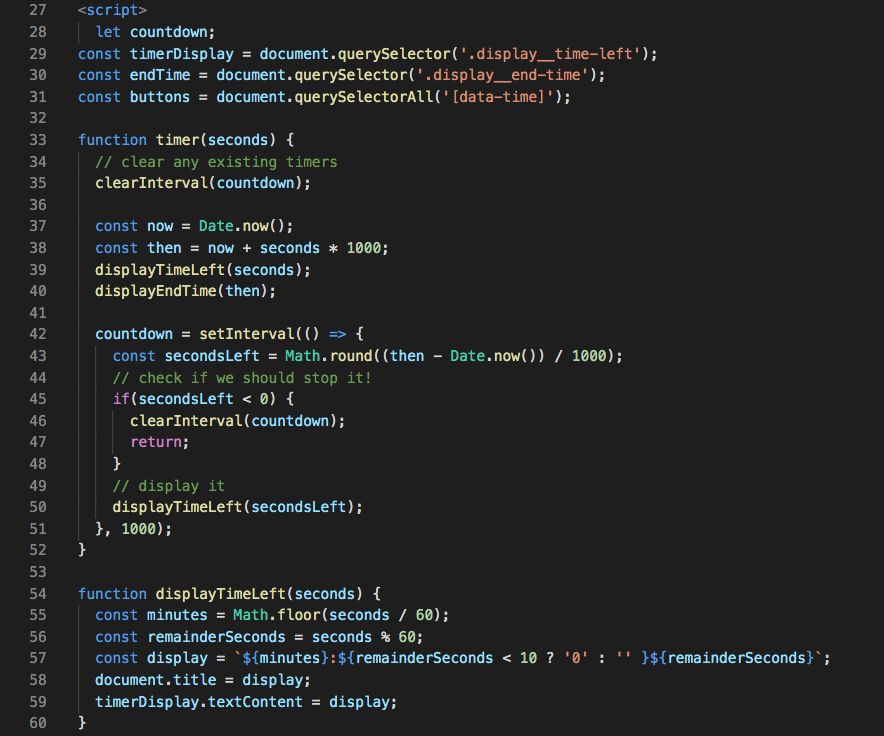
For this challenge, I created a function called "timer" which was measured in seconds (line 33-52). This function figures out when the timer started (line 37) and how much time will have passed when the timer will stop (line 38). Then, the function shows how much time is left using an interval that subtracts the time at which the timer will stop from when the timer started and this updates every second (line 43). This is also wrapped in a rounding function to help with rounding errors due to it being measured in milliseconds by the function. This is also why equations are multiplied or divided by 1000.
The interval also needed to know when it should stop because otherwise it would go into the negatives. I added an "if" statement into the function in order to fix this (line 45-47). However, in order for this to work the interval also needed to be stored in its own variable (line 28; line 46). I also added to the function so that when a new timer is set, the existing timer is cleared (line 35).
A second function, named "displayTimeLeft" was created to show the countdown on the web page (line 54-60). It was also added to the "timer function" so that the countdown would work immediately at zero seconds instead of after one second had passed (line 39).I then needed to convert the countdown from just seconds to minutes and seconds (line 55-59).
I then created a variable that connected to the div in the html that displays the time on the page (line 29) and connected that to the "displayTimeLeft" function (line 59).
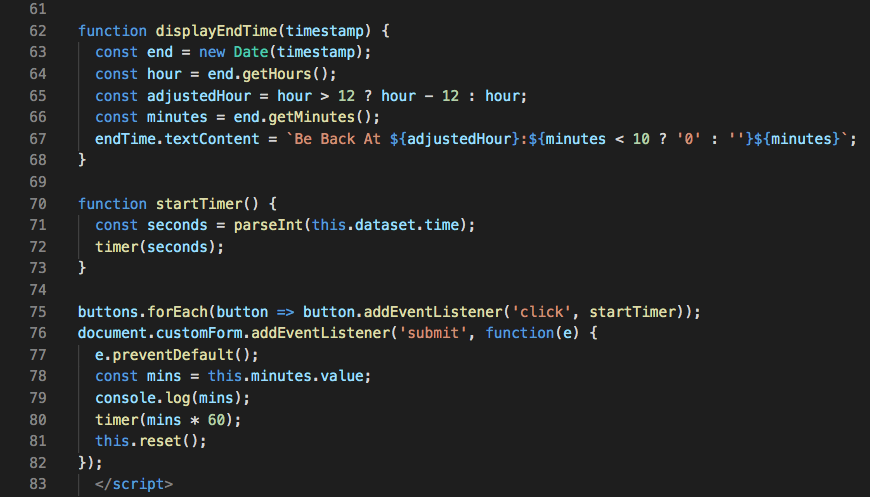
Next, I created another function that would show the time at which the timer would end (line 62-68). This function turns the timestamp into a date which shows only the hours and minutes. This was then connected to a div in the html with the "displayEndTime" function (line 30).
I then connected the buttons from the html, which each have a data-time connected to them, to the code (line 31) and added an event listener that would set the countdown timer to the data-time for that button when it is pressed (line 75). The event listener then triggers the function "startTimer" (line 70-73).
Lastly, I added an event listener for the form on the far right that allows you to put in a custom amount of time (line 76-81). This event listener triggers the function "startTimer" as well.
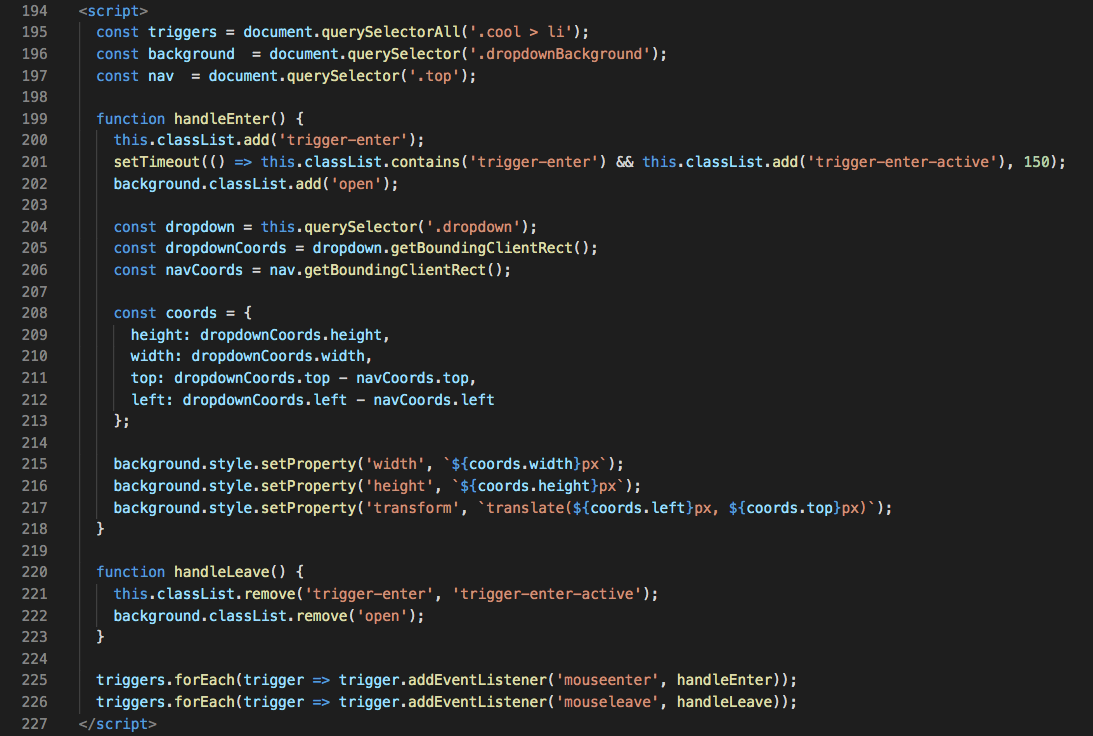
There are three triggers at the beginning of this script code that connect the descendants of the list items, the dropdown background color for the div, and the nav from the html above into the function below (line 195-197).
Once that was established, I created a function called "handleEnter" (line 199-213). I then created another function called "handleLeave" (220-223). There are two event listeners below that trigger the above two functions depending on if the mouse enters or leaves any of the headers under the nav tag in the html (line 225-226).
The way these two functions work is by adding or removing classes to elements within the html to either show or hide them (line 200-204; line 221-222). The "handleEnter" function also changes the css for the div elements when it is run, which creates the white background and relative sizing of the dropdown, and also adjusts the descending elements within each nav (line 205-217).
The size of the dropdown for each nav is determined using the coordinates of the elements within the nav (line 208-213). The dropdown is also anchored to be right underneath the div element headers (line 211-212). The "background.style.setProperty" is in pixels so that the code is able to turn the background white within the size determined before it (line 215-217). The transition for how the white background appearing and disappearing is written in the css of the code.
Reflection
I chose to do the JavaSCript 30 challenges as my final project because JavaScript was the subject I felt I had the least experience with out of all of the topics we learned about this semester. I found the FCC JavaScript tutorials extremely fascinating, and I wanted to see what I could do with JavaScript on actual web pages!
I have always found interactive graphics extremely interesting and useful within the field of graphic design and digital communication, both of which are fields I am interested in working in in the future. In this project, I was able to learn many different techniques for how to build and customize JavaScript functions that I could add to my websites.
With these challenges, I didn't just learn how to do these five specific functions. I became much more comfortable with the language of JavaScript and learned many more ways in which it can be used.I now feel that I could implement different aspects from each of them to a variety of other functions I would want to build.
I also greatly enjoyed learning how HTML and CSS code combine with JavaScript code in order to get the end result of a web page and its' functions. One of my favorite parts of each challenge was playing with all the different ways I could change details of the HTMl and CSS in order to adjust how everything looked. The function still ran the same but the way it looked at it ran on the page was different.
I feel that I am walking away from this project with a much more well-rounded understanding of all the components of a website. In previous projects (for example, when installing bootstrap themes), I always wondered how certain details about the themes worked and wished that I could take something from one theme and add it to another theme. Because of this project, I was able to do just that!
Something I love about the bootstrap theme I chose for my portfolio is that when you click a link on the navbar, it will smoothly scroll down the screen to get to that one area you picked from the navbar. After reading the JavaScript code that came with that theme, I was able to find that part of the code and copy it into the code I picked for this very page for my final project!
I now feel confident in my ability not just to read and understand JavaScript code, but build and adapt functions myself. This is definitely my favorite site I've built in this class and I am extremely proud of how much I learned while creating it!
Copyright © All rights reserved | This template is made with by Colorlib